


How to Brick It
Our patented metal grid system stands as the most straightforward and cost-effective method for thin brick installation. Our research indicates a significant reduction in job complexity and up to five times increased efficiency in brick adherence compared to traditional methods. While installation specifics may vary based on job conditions and substrate, the general idea is outlined in the steps below.
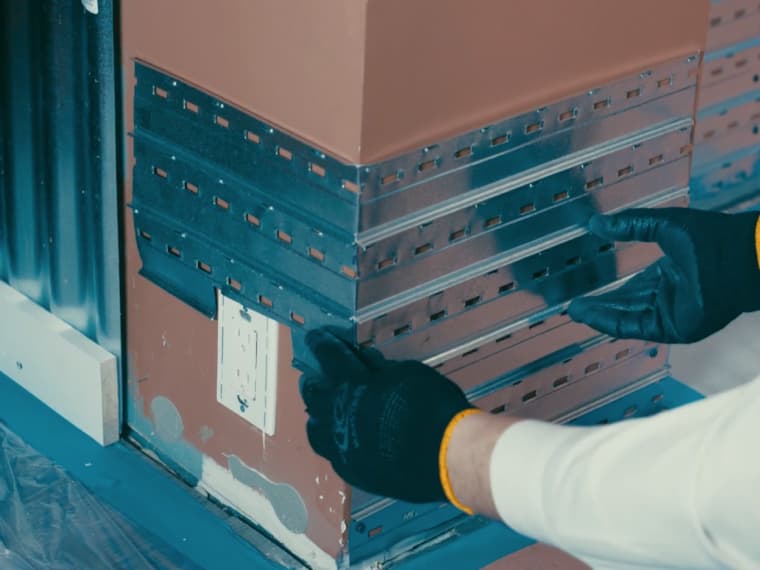
Metal Panel Installation
The continuous ledge design removes the necessity for starter channels and seamlessly accommodates corner returns.
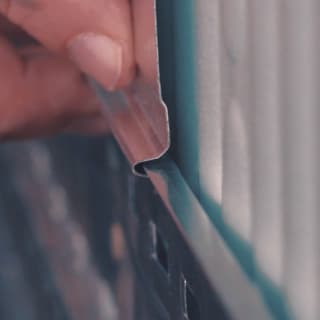
The panels feature an interlock system with a female section at the bottom and a male section on top. Adhesive holes facilitate the flow of adhesive, bridging gaps caused by "oil canning." Mortar locks securely hold the mortar in place.
- Measure and determine grid and brick layout.
- Install the first row of metal grid using appropriate fasteners.
- Offset vertical grid joints leaving 1/4" gaps.
- Figure brick to extend pass grid by 1/2" at grid ends.
- Always use metal snips when cutting panels to size.
- Notch brick ledges and bend metal around corners.
Thin Brick Installation
Brick it® adhering method allows for thin brick installations even when temperature falls below freezing.
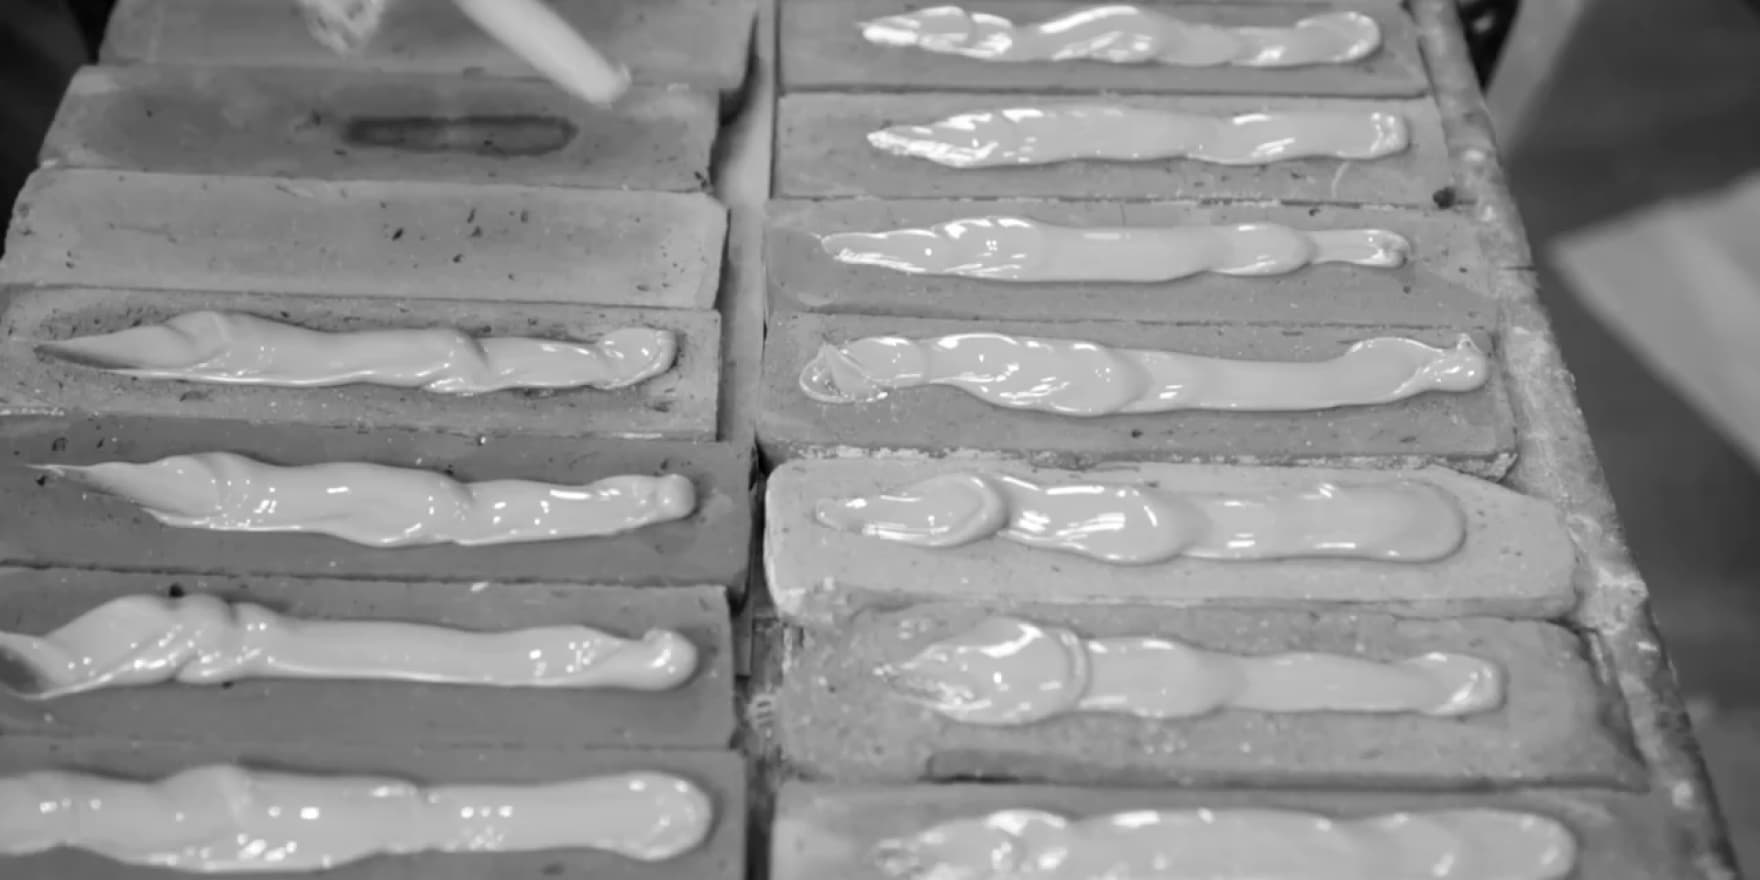
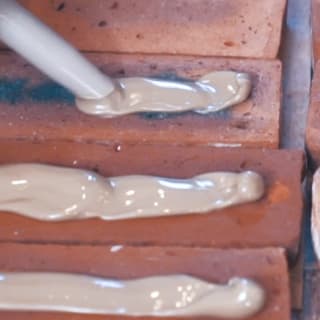
Three adhesive spreading methods are used depending on application; typical horizontal 3/8” bead recommended for interior use, dime sized three dots in the back of each brick and multiple vertical 3/8” beads for exterior MCS system.
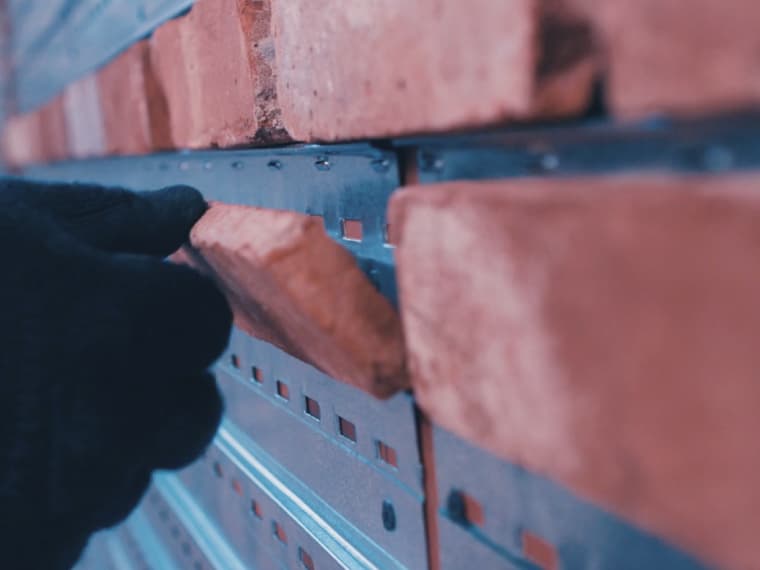
- Always start by adhering corner brick.
- Adhere two rows of bricks across the entire wall to conform proper layout.
- Adjust vertical brick joints to fit wall space. Approx. 3/8”.
- Draw vertical lines every 48” to maintain spacing.
- Press bricks firmly to wall while installing. Check periodically and repress to grid if necessary.
- Cut brick as needed using proper masonry blade.
Brick Grouting
Brick it® mortar comes pre-mixed with all the components. Just add water.
Brick joint finishes can vary based on factors such as the brick type, geographical preferences, or customer choices. The widely favored finish is the "Concave," commonly applied in commercial settings. For Handmade bricks, the "Grape Vine" finish is popular, while "Over Grout" is often chosen for Reclaimed bricks.


- Place mortar mix into a 5 gal. bucket and add clean cold water slowly until mortar is thoroughly mixed. Preferably use slow speed ½ drill to mix.
- Mortar is properly mixed when it flows easily out of the bag with a slight squeeze.
- Apply mortar to joints; horizontal first and then vertical. Over fill joints to avoid voids.
- When mortar attains a firm consistency (check every 3 to 5 minutes) joints are ready for tooling.
- Cut excess mortar with a trowel, fill any voids and strike it with appropriate tool for desired finish.
- Brush entire wall with a stiff brush. This is typically performed 20 to 30 minutes after striking but exact timing will vary.
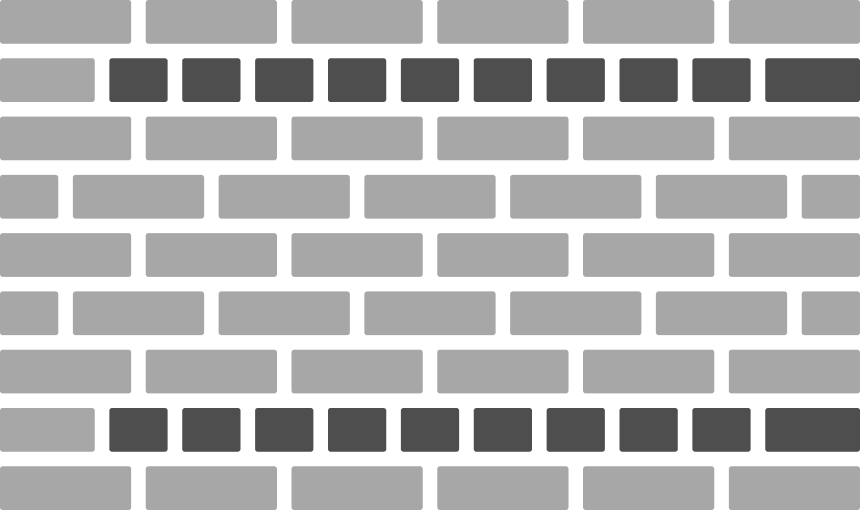
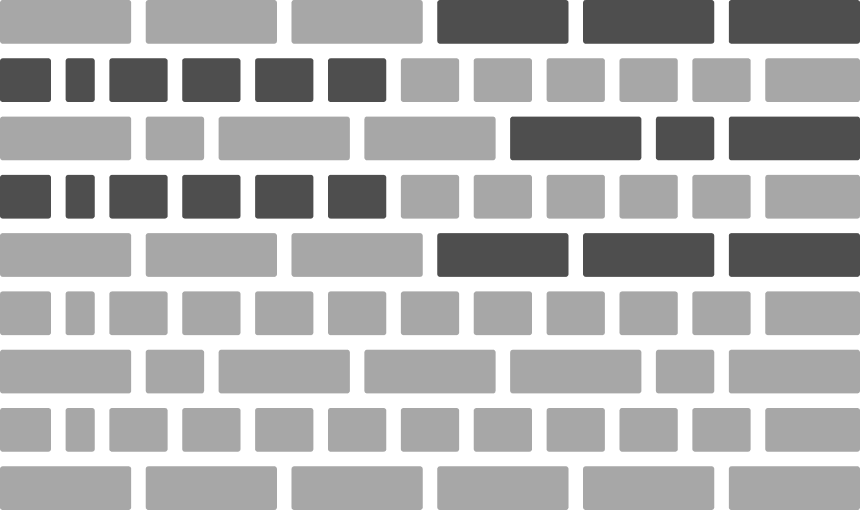
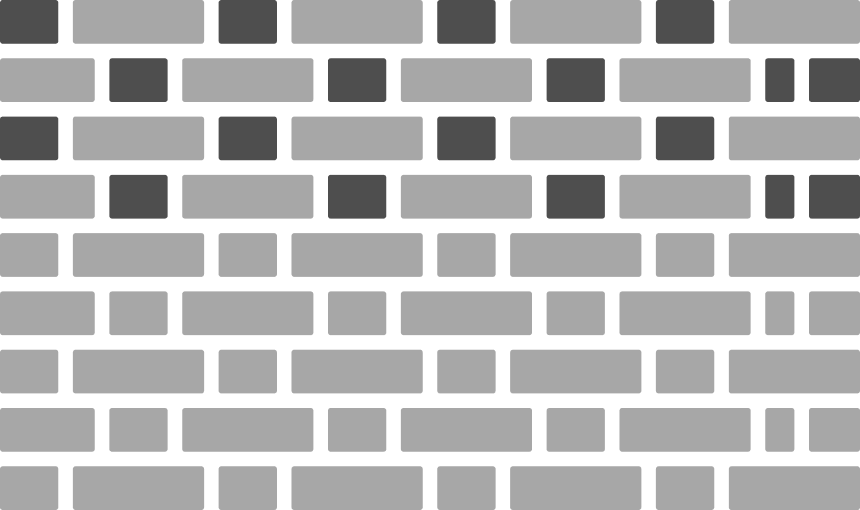
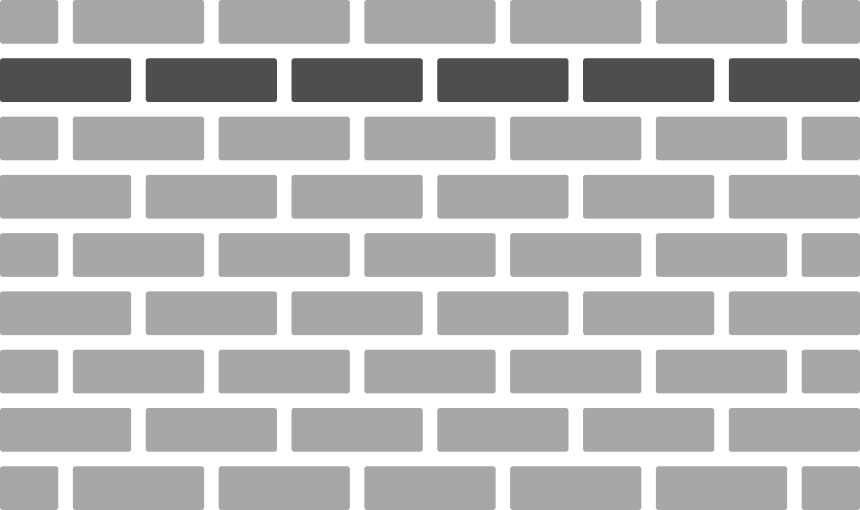
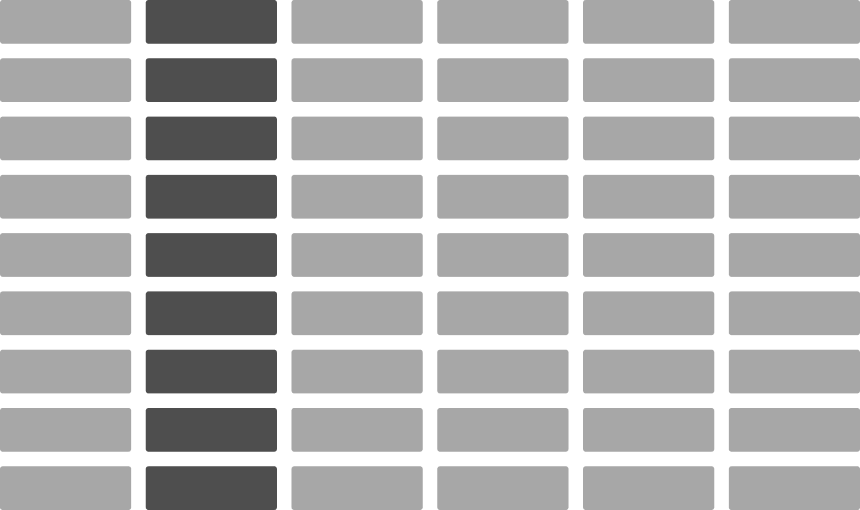
Bonding & Patterns
In thin veneer masonry, brick bonding (patterns) serves a purely decorative purpose. Here are a few popular examples showcased for inspiration.

Any questions so far?
We can help.
If you need help with your order or consult our design experts for advice, do not hesitate to contact us. We're happy to help!
