Thin Set System

The Thin Set system is an excellent option for small interior applications, such as kitchen backsplashes and other tight spaces. In addition, it is also an ideal choice for those who are looking for a more cost-effective solution, as it can be easily applied by DIY enthusiasts without the need for professional help.

  • Easy to apply for DIY enthusiasts
  • Cost-effective solution
  • No need for a scratch coat and self-furring galvanized metal lath
  • Suitable for small interior applications and tight spaces
Thin Set System
Thin Set System
Interior Sheathing
Thin set adhesive
Mortar
Real Thin Brick
System Overview

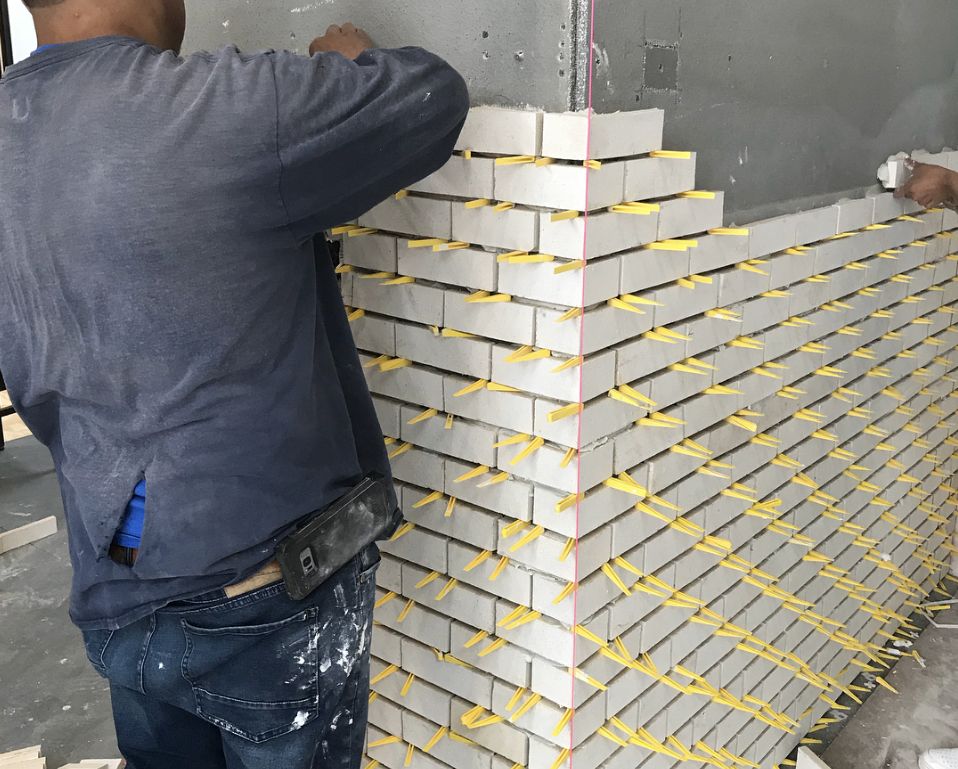
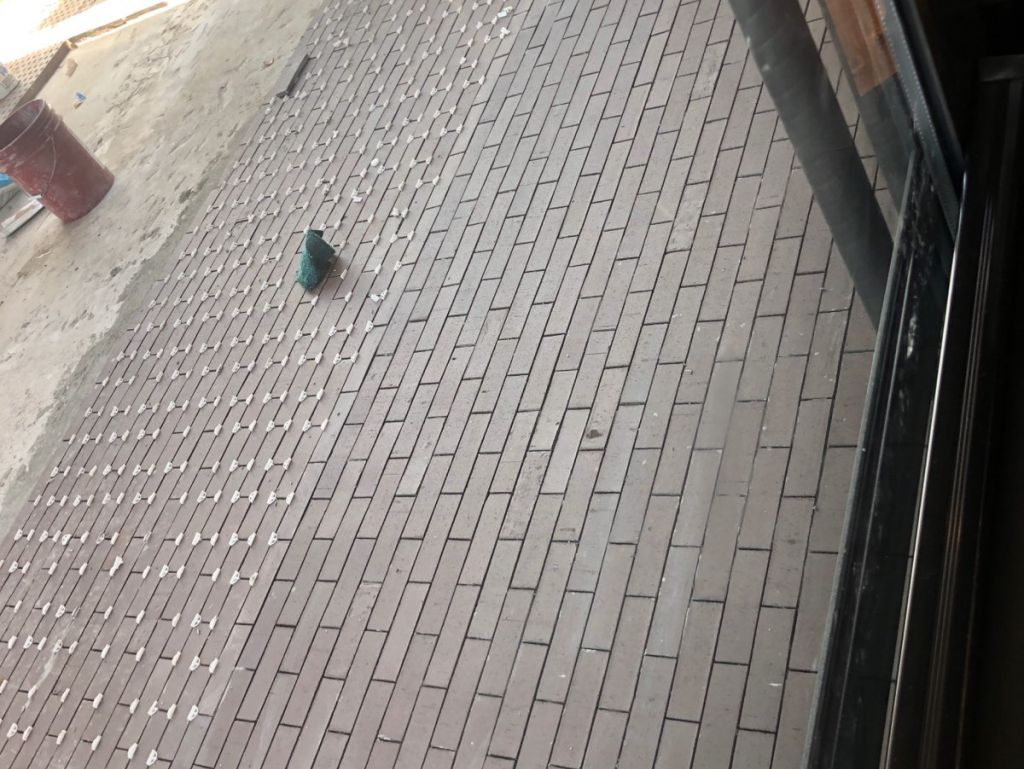
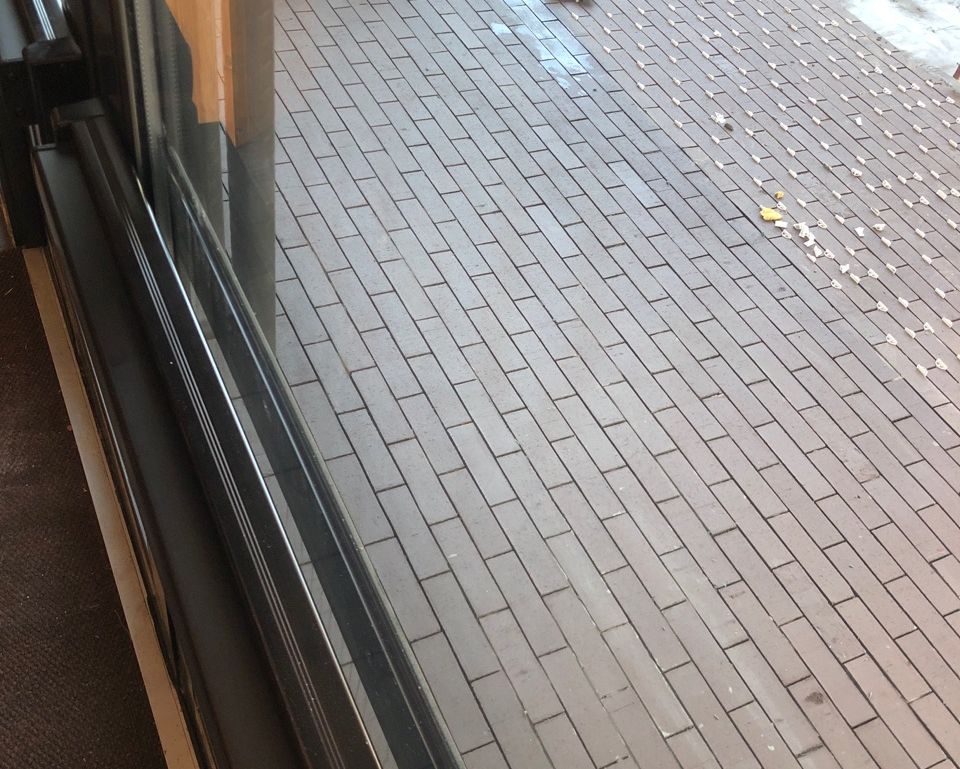
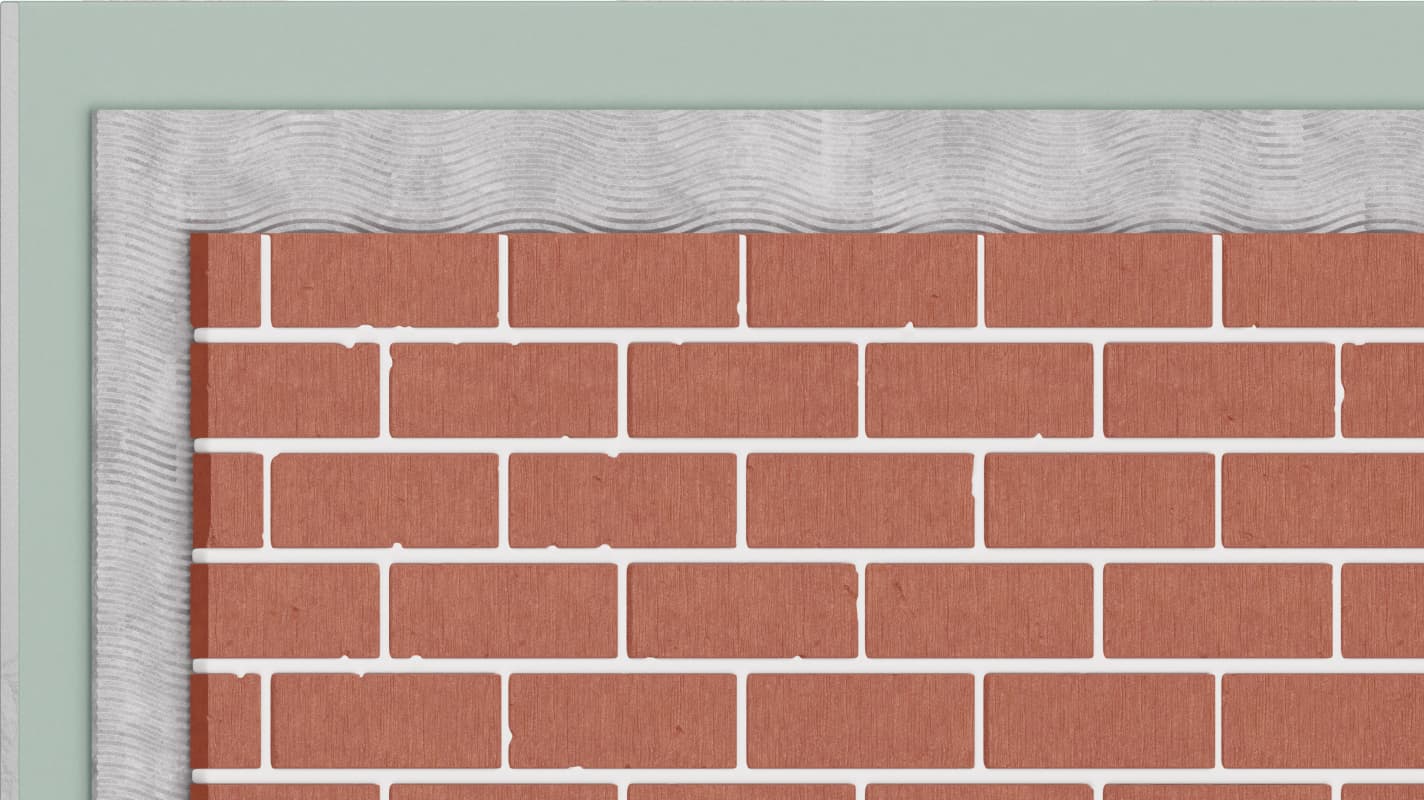
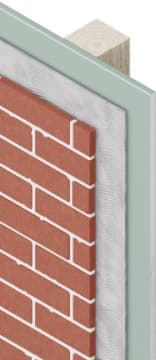
The Thin Set system is very similar to the Thick Set system; however, there is no need for a scratch coat and self-furring galvanized metal lath. The adhesive is applied directly onto a dry substrate. It is not recommended for damp surfaces.

Although the Thin System is not complicated to install, it requires more masonry skills, lengthens installation time, and demands more knowledge compared to using one of the metal panel Brick it™ systems. These systems are easier and quicker to install, require less clean up, and create perfectly aligned bricks with less effort and skill. For more information on Brick it™ systems, visit the Why Brick it page.

Note

This information is an overview. For complete installation instructions on all systems, please visit the links provided or speak to a Brick it™ representative.

Ceramic tile installation techniques are often used to install the brick units:

The Tile Council of North America: www.tcnatile.com

The Brick Industry Association: www.gobrick.com

FAQ

What Type of Contractors Install Thin Brick?

The type of contractor best suited for your project will depend on its scope and setting. The following professionals are commonly capable of installing thin brick panel systems:

  • Stucco Contractors
  • Masons
  • Carpenters
  • Tile Setters
  • Exterior Cladding or Façade Specialists – Particularly for commercial or large-scale exterior applications
  • Landscapers, Plumbers, Electricians, and Painters – Often take on small-scale or interior installations

Regardless of trade, it’s important that the installer is detail-oriented, follows our installation guidelines, and is comfortable working with panel systems and masonry materials.

What Tools Are Required to Install Thin Brick?

Most thin brick installations require only basic masonry and tile tools, such as a trowel, mortar bag, level, jointing tool, and a saw or splitter for cutting bricks.

To make things even easier, our System Configurator displays the recommended tools for each specific step of your installation, based on your selected wall assembly and system components. We encourage you to use the configurator when quoting your project to ensure you have everything you need, including the correct tools and accessories.

What Do I Use to Fasten the Metal Grid Panel to the Wall?

We recommend using non-corrosive, preferably ribbed fasteners that provide sufficient penetration to securely anchor the metal grid panel to the substrate. The correct type of fastener will depend on the wall material (e.g., wood, steel, concrete, or masonry) and the specific system being installed.

Using the right fasteners is critical to ensure the long-term performance and stability of your thin brick installation.

You can view our recommended fasteners and purchase options by clicking here.

How Do I Point or Grout Thin Brick?

Follow these steps to properly mix and apply mortar for thin brick joints:

  • Mixing the Mortar:
    • Empty the entire contents of the 40 lb Brick It mortar mix into a 5-gallon bucket.
    • If you've ordered a colored mortar, add the full contents of the accompanying 1.5 lb colorant pack to the same bucket.
    • Slowly add clean, cold water while mixing with a 1/2" drill and mortar paddle at low speed (450–550 RPM) until the mixture reaches a smooth, workable consistency.
    • The mortar is properly mixed when it flows easily from a mortar bag.
  • Application:
    • Load the mortar into a mortar bag and apply it to the horizontal joints first, followed by the vertical joints.
    • Always overfill joints slightly to ensure there are no air pockets or voids.
  • Tooling the Joints:
    • Begin checking mortar firmness every 3–5 minutes. Once it reaches a firm but workable consistency, it's ready for tooling.
    • Use the joint tool provided in your kit to strike the vertical joints first, then the horizontal ones.
    • Hold the tool at a 45° angle and strike the joint to compress and seal the mortar against the brick edges.
    • Maintain no more than 1/8” recess from the brick face for proper finish.
    • The result will be a concave joint finish. Fill any visible voids as needed.
  • Temperature Warning:
    • Do not apply mortar when daytime or nighttime temperatures are expected to fall below 40°F, as this can compromise the curing process.

Can I Use a Sponge to Finish the Joints Like a Tile Installer Would?

We do not recommend using a sponge-finish technique for brick joints, as it is commonly done with tile. Unlike glazed tile, most brick surfaces are porous and textured, making it difficult to clean mortar off the face without leaving permanent stains or residue.

That said, if a slightly smeared or weathered appearance is part of your intended aesthetic, this technique might help achieve that look. In any case, we strongly advise testing your method on a sample panel before applying it to the main wall.

Which Moisture Barrier Should I Use?

Although we are not a manufacturer of moisture barriers and cannot recommend a specific brand, we can provide some general guidance based on industry standards. Most professionals now recommend using two layers of moisture protection behind thin brick veneer. This can include:

  • Two layers of building paper.
  • A combination of one roll-on applied membrane and one sheet-applied layer.
  • Pre-bonded 2-ply papers, which unroll together for easier installation.

It’s important to note that brick and mortar are not waterproof—your moisture barrier is the critical line of defense against water intrusion. For this reason, we strongly advise consulting your project architect or building envelope consultant to select the appropriate system.

For moisture control accessories offered through Brick It, click here.

Can I hang pictures, awnings, or attach fixtures to thin brick veneer?

Thin brick veneer is non-structural and not designed to support loads. We generally do not recommend fastening directly into the veneer. Instead, anchor fixtures to the underlying wall structure before applying the veneer.

Best Practices:

  • Plan in advance: install backing or supports (e.g., blocking or junction boxes) behind the veneer during rough-in
  • For items like sconces, it's acceptable to mount them on a junction box that is securely fastened to the wall
  • Ensure all penetrations are properly sealed to maintain water-tightness
  • For heavier items such as awnings or shelves, always consult a structural professional and coordinate mounting details before veneer installation.
Documentation
Wood Frame System Overview pdf
Wood Frame System Overview, DWG File dwg
Any questions so far? We can help.

Any questions so far?

We can help.

If you need help with your order or consult our design experts for advice, do not hesitate to contact us. We're happy to help!