Thick Set System

The Thick Set system is a well-known and trusted method for installing various materials, such as thin stone, thin brick, and tile. It is versatile and can be used indoors and outdoors. This time-tested technique has been used for many years and proven to be reliable and durable by masonry and tile contractors.

  • Walls made of masonry, concrete, steel, or wood stud framing can be used
  • Versatile and can be used indoors and outdoors
  • Suitable for installing various materials, such as thin stone, thin brick, and tile
  • Suitable for installing various materials, such as thin stone, thin brick, and tile
  • Time-tested technique has been proven to be reliable and durable by masonry and tile contractors
Thick Set System
Thick Set System
Wall Sheathing
Water resistant barrier
Metal lath
Scratch coat
Real Thin Brick
System Overview

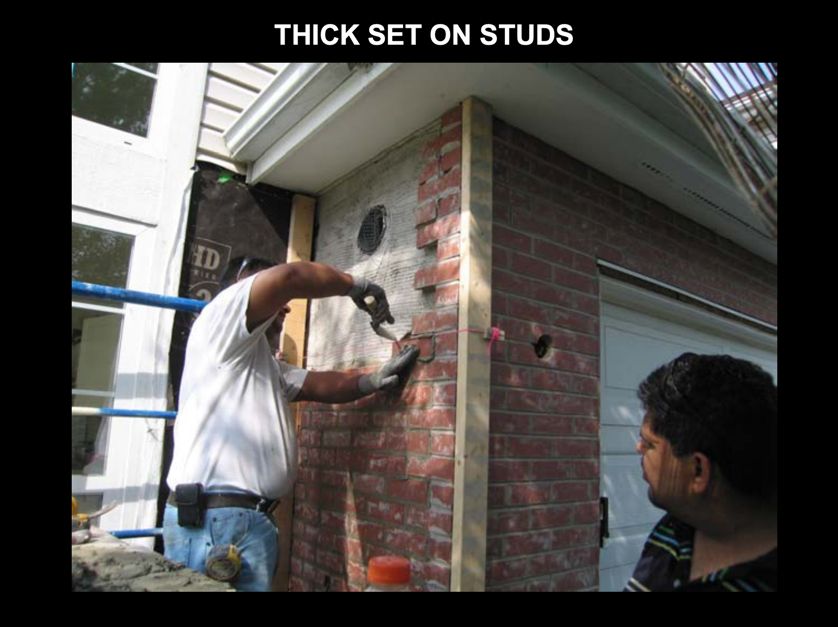
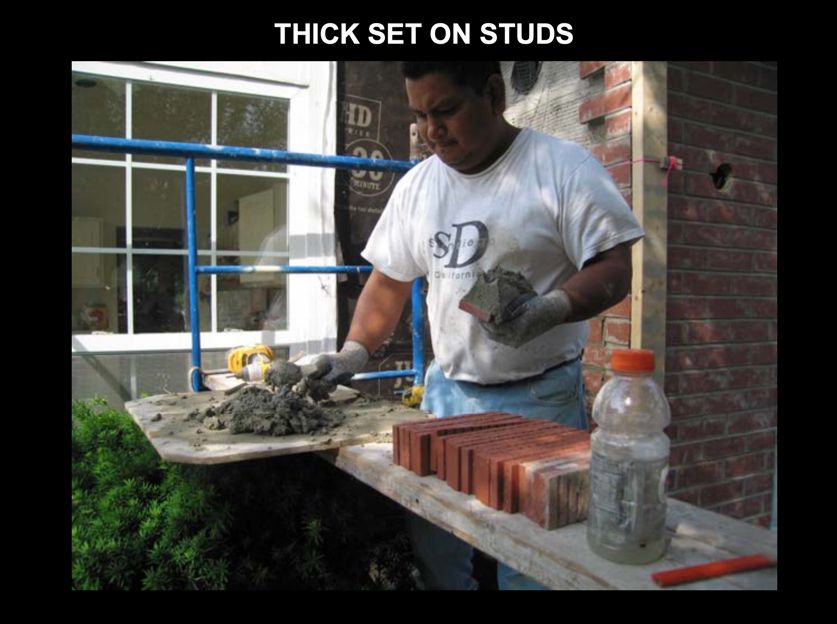
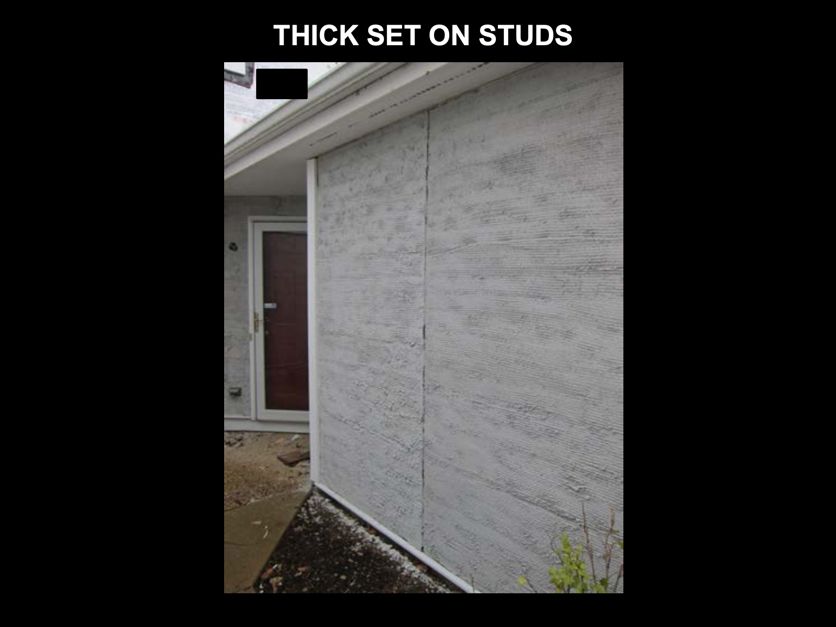
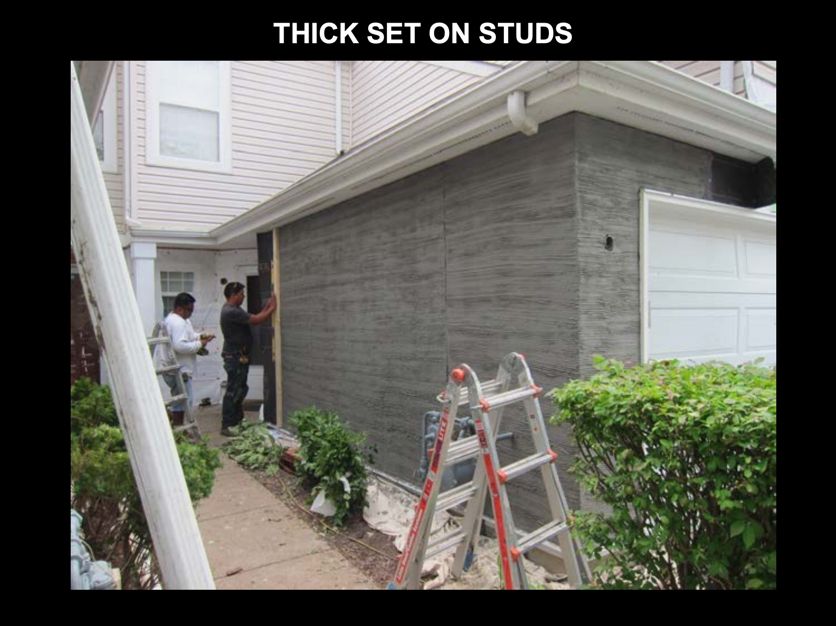
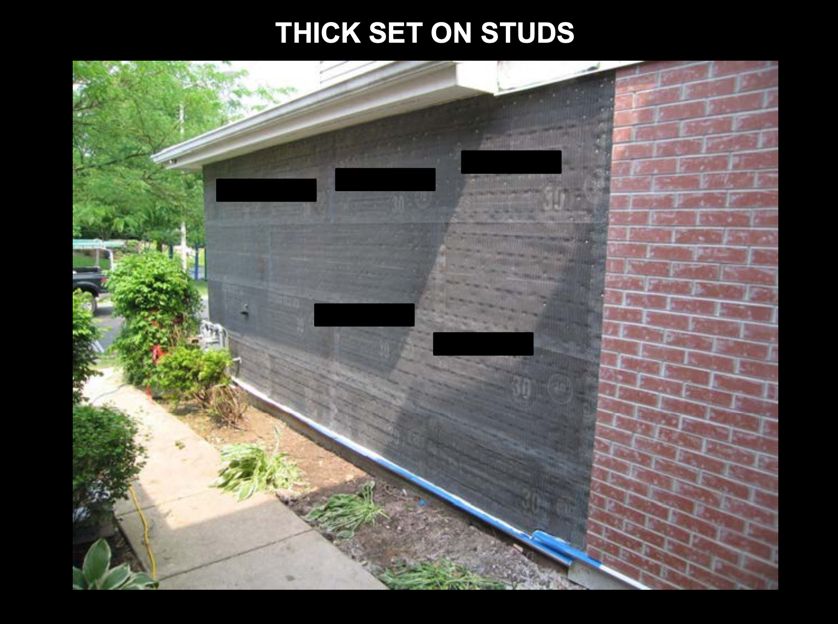
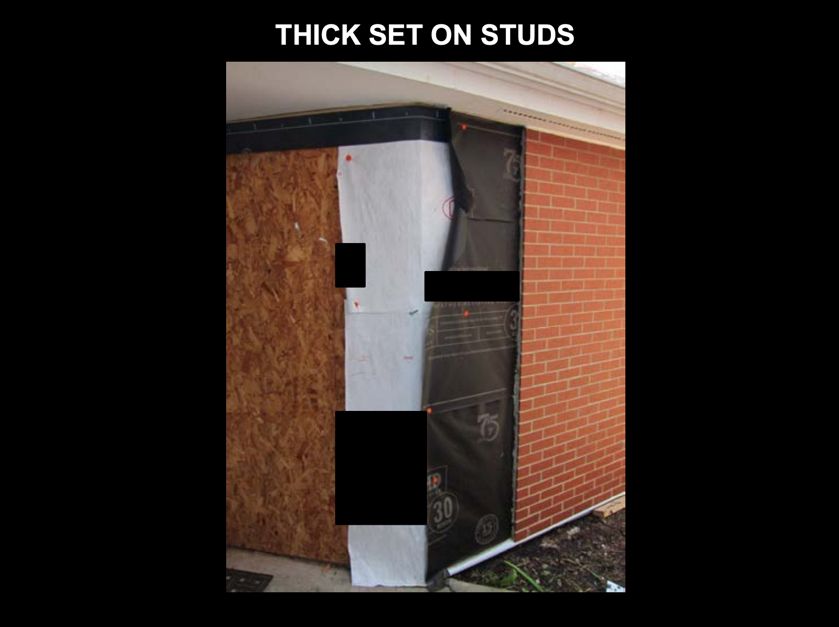
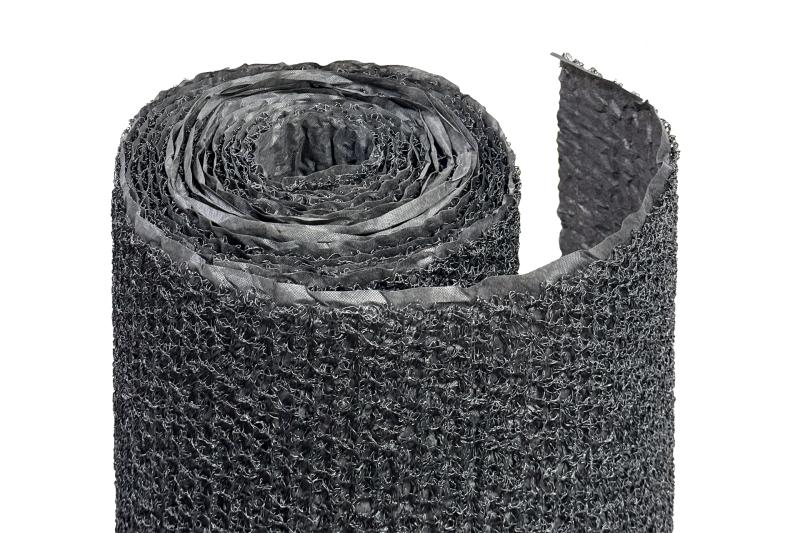
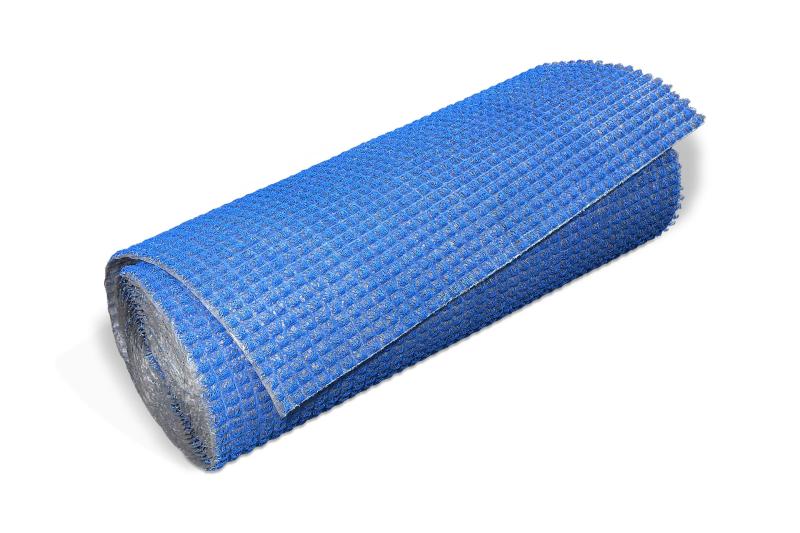
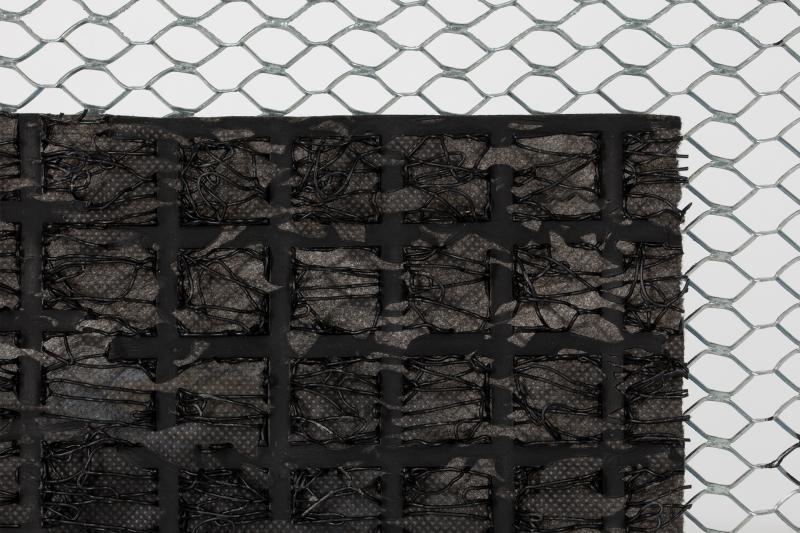
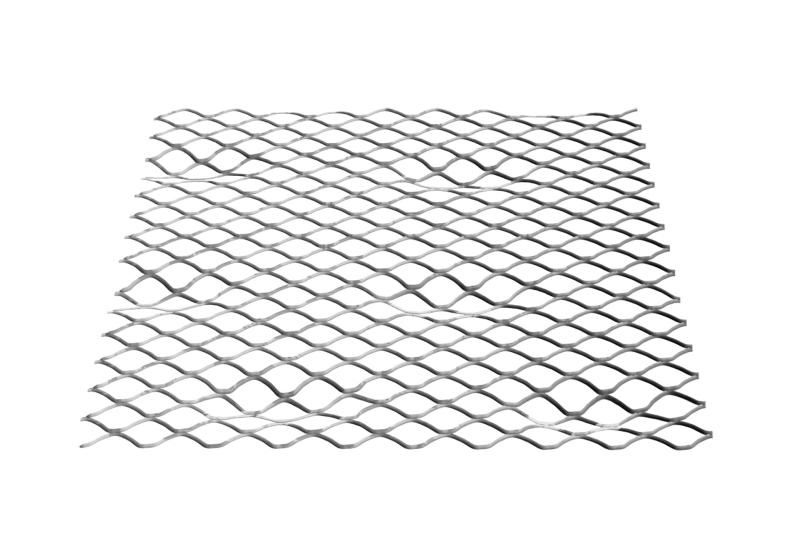
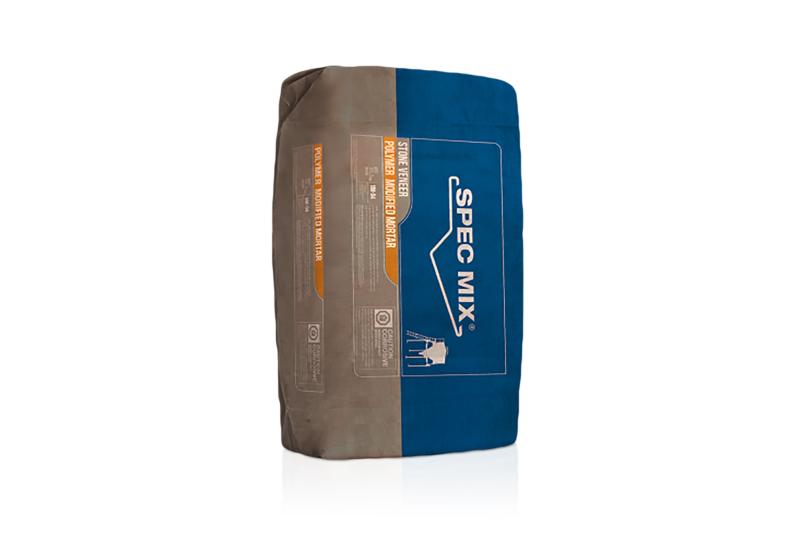
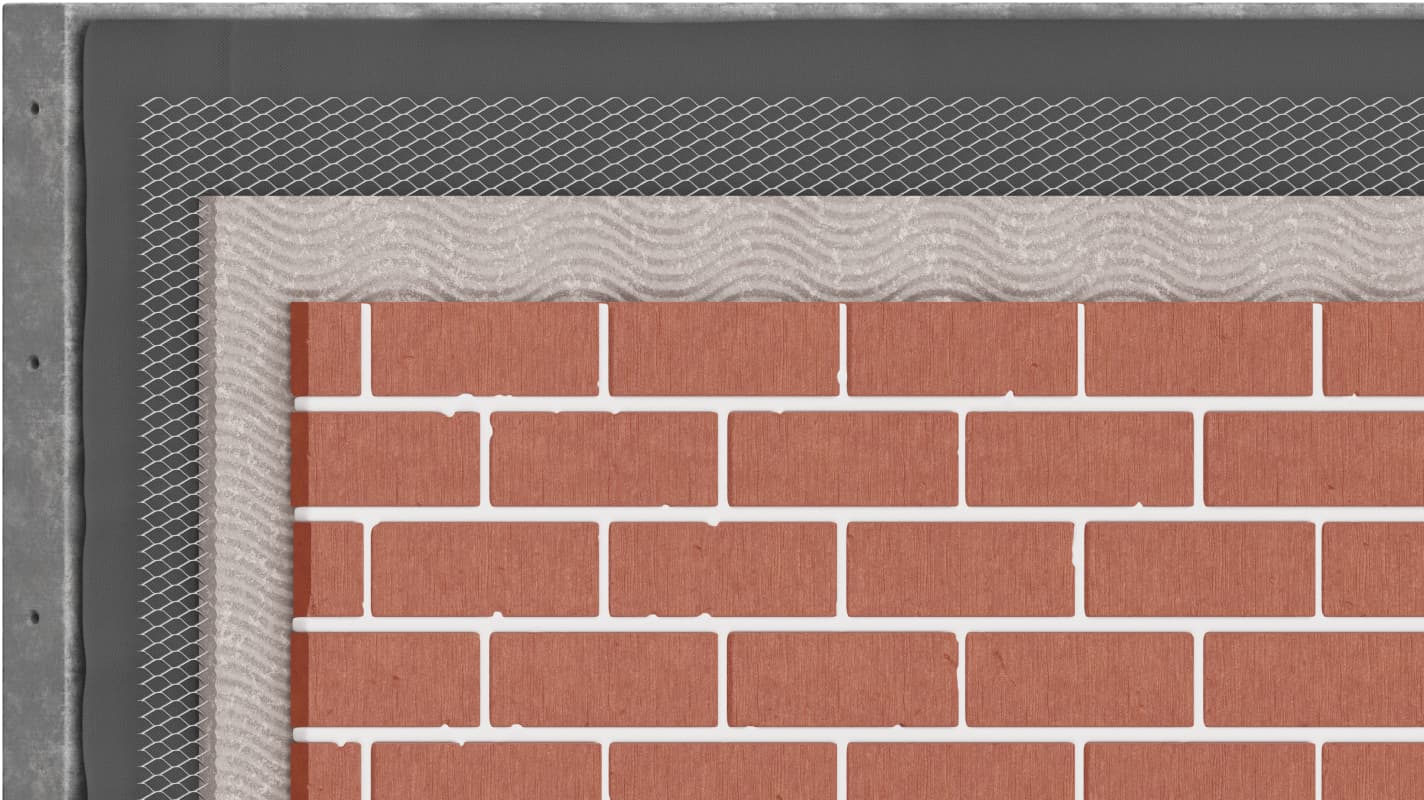
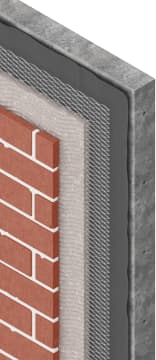
Before placing the brick, the installer must prepare the wall by installing a scratch coat over a self-furring galvanized metal lath, followed by another leveling coat. While placing the brick, the installer must keep them aligned and spaced properly. This procedure is used on interior and exterior walls, including those made of masonry, concrete, steel, or wood stud framing. For a properly assembled system component material list for thin brick installation, heavy-duty self-furring wire mesh and modified mortars specially formulated for real clay veneer adhesion should be used.

Summary

  • Prepare the wall by installing a scratch coat over a self-furring galvanized metal lath, followed by another leveling coat
  • Keep the brick aligned and spaced properly while placing them
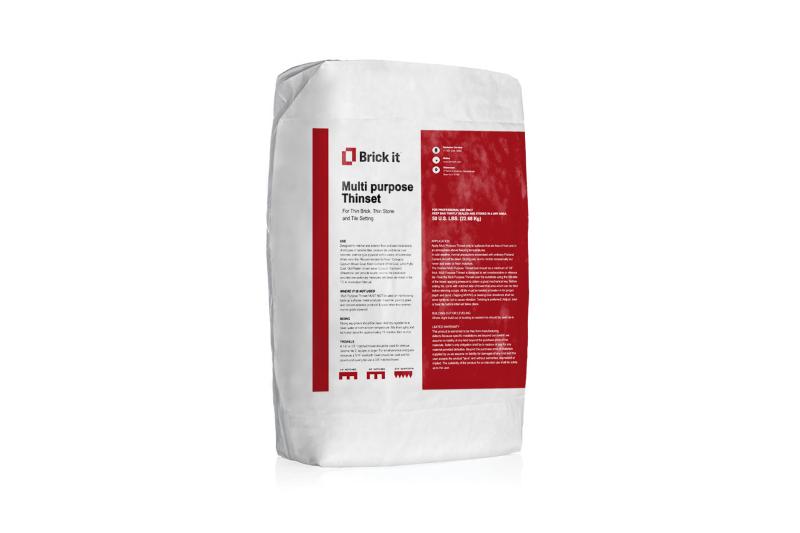
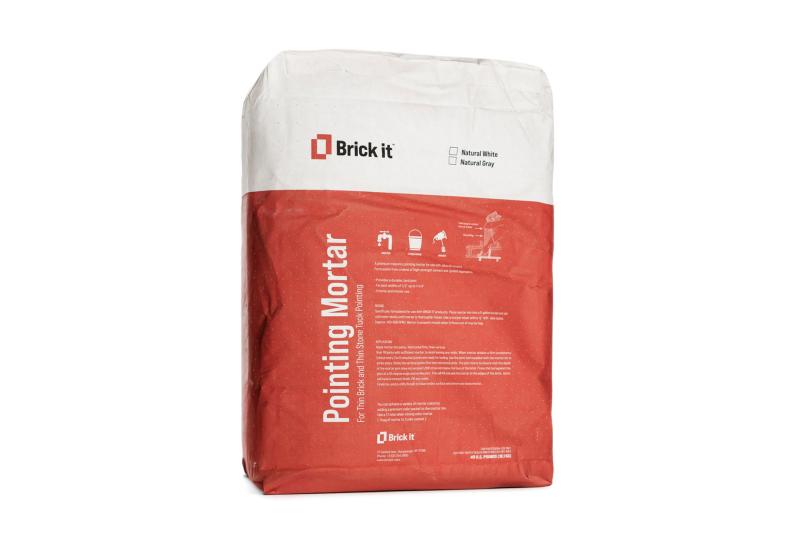
  • Use heavy-duty self-furring wire mesh and modified mortars specially formulated for real clay veneer adhesion for a properly assembled system component material list for thin brick installation

Although the Thick Set system is not complicated to install, it requires more masonry skills, lengthens installation time, and demands more knowledge compared to using one of the metal panel Brick it™ systems. These systems are easier and quicker to install, require less clean up, and create perfectly aligned bricks with less effort and skill. For more information on Brick it™ systems, visit the Why Brick it page.

Note

This information is an overview. For complete installation instructions on all systems, please visit the links provided or speak to a Brick it™ representative.

Ceramic tile installation techniques are often used to install the brick units:

The Tile Council of North America: www.tcnatile.com

The Brick Industry Association: www.gobrick.com

FAQ

What Type of Contractors Install Thin Brick?

The type of contractor best suited for your project will depend on its scope and setting. The following professionals are commonly capable of installing thin brick panel systems:

  • Stucco Contractors
  • Masons
  • Carpenters
  • Tile Setters
  • Exterior Cladding or Façade Specialists – Particularly for commercial or large-scale exterior applications
  • Landscapers, Plumbers, Electricians, and Painters – Often take on small-scale or interior installations

Regardless of trade, it’s important that the installer is detail-oriented, follows our installation guidelines, and is comfortable working with panel systems and masonry materials.

What Tools Are Required to Install Thin Brick?

Most thin brick installations require only basic masonry and tile tools, such as a trowel, mortar bag, level, jointing tool, and a saw or splitter for cutting bricks.

To make things even easier, our System Configurator displays the recommended tools for each specific step of your installation, based on your selected wall assembly and system components. We encourage you to use the configurator when quoting your project to ensure you have everything you need, including the correct tools and accessories.

What Do I Use to Fasten the Metal Grid Panel to the Wall?

We recommend using non-corrosive, preferably ribbed fasteners that provide sufficient penetration to securely anchor the metal grid panel to the substrate. The correct type of fastener will depend on the wall material (e.g., wood, steel, concrete, or masonry) and the specific system being installed.

Using the right fasteners is critical to ensure the long-term performance and stability of your thin brick installation.

You can view our recommended fasteners and purchase options by clicking here.

How Do I Point or Grout Thin Brick?

Follow these steps to properly mix and apply mortar for thin brick joints:

  • Mixing the Mortar:
    • Empty the entire contents of the 40 lb Brick It mortar mix into a 5-gallon bucket.
    • If you've ordered a colored mortar, add the full contents of the accompanying 1.5 lb colorant pack to the same bucket.
    • Slowly add clean, cold water while mixing with a 1/2" drill and mortar paddle at low speed (450–550 RPM) until the mixture reaches a smooth, workable consistency.
    • The mortar is properly mixed when it flows easily from a mortar bag.
  • Application:
    • Load the mortar into a mortar bag and apply it to the horizontal joints first, followed by the vertical joints.
    • Always overfill joints slightly to ensure there are no air pockets or voids.
  • Tooling the Joints:
    • Begin checking mortar firmness every 3–5 minutes. Once it reaches a firm but workable consistency, it's ready for tooling.
    • Use the joint tool provided in your kit to strike the vertical joints first, then the horizontal ones.
    • Hold the tool at a 45° angle and strike the joint to compress and seal the mortar against the brick edges.
    • Maintain no more than 1/8” recess from the brick face for proper finish.
    • The result will be a concave joint finish. Fill any visible voids as needed.
  • Temperature Warning:
    • Do not apply mortar when daytime or nighttime temperatures are expected to fall below 40°F, as this can compromise the curing process.

Can I Use a Sponge to Finish the Joints Like a Tile Installer Would?

We do not recommend using a sponge-finish technique for brick joints, as it is commonly done with tile. Unlike glazed tile, most brick surfaces are porous and textured, making it difficult to clean mortar off the face without leaving permanent stains or residue.

That said, if a slightly smeared or weathered appearance is part of your intended aesthetic, this technique might help achieve that look. In any case, we strongly advise testing your method on a sample panel before applying it to the main wall.

What’s the Purpose of the Drainage Mat?

The drainage mat plays a critical role in managing moisture behind thin brick veneer. Made from high-impact materials, it allows for the rapid exit of water that brick naturally absorbs, promoting continuous airflow between the veneer and the structural wall. This helps prevent moisture buildup, mold, and long-term damage to the building envelope.

Which Moisture Barrier Should I Use?

Although we are not a manufacturer of moisture barriers and cannot recommend a specific brand, we can provide some general guidance based on industry standards. Most professionals now recommend using two layers of moisture protection behind thin brick veneer. This can include:

  • Two layers of building paper.
  • A combination of one roll-on applied membrane and one sheet-applied layer.
  • Pre-bonded 2-ply papers, which unroll together for easier installation.

It’s important to note that brick and mortar are not waterproof—your moisture barrier is the critical line of defense against water intrusion. For this reason, we strongly advise consulting your project architect or building envelope consultant to select the appropriate system.

For moisture control accessories offered through Brick It, click here.

Documentation
Wood Frame System Overview pdf
Wood Frame System Overview, DWG File dwg

Buy System Components

Keene Rainscreen
Keene Rainscreen
$165.17 / UNIT Variant: 6Mm, 4' X 65' / 260 Sf Available Variations: 6Mm, 4' X 65' / 260 Sf $165.17 / UNIT 10.9Mm, 4' X 45' / 180 Sf $189.58 / UNIT 3.8Mm, 4' X 100' / 400 Sf $245.32 / UNIT
ABP Mortairvent® Rainscreen
$98.71 / UNIT Variant: 10Mm, Roll 39" X 40' X 0.40" (130Sqft) Available Variations: 10Mm, Roll 39" X 40' X 0.40" (130Sqft) $98.71 / UNIT 3Mm, Roll 39" X 61.5' X 0.125" (200Sqft) $116.32 / UNIT 6Mm, Roll 39" X 61.5' X 0.25" (200Sqft) $116.32 / UNIT
Fire-Rated Sure Cavity Wide Drainage Mat
$217.64 / UNIT Variant: Fire-Rated Sure Cavity Wide Drainage Mat Available Variations: Fire-Rated Sure Cavity Wide Drainage Mat $217.64 / UNIT
Sure Cavity Wide Drainage Mat
$123.02 / UNIT Variant: 3/8" (10Mm), 66 Sq Ft Available Variations: 3/8" (10Mm), 66 Sq Ft $123.02 / UNIT 3/16" - Most Popular, 132 Sq Ft $196.85 / UNIT 1/8", 200 Sq Ft $201.76 / UNIT
Keene LathNet
Keene LathNet
$38.55 / UNIT Variant: 2.5 # Lath With 1/4" Mat Available Variations: 2.5 # Lath With 1/4" Mat $38.55 / UNIT 2.5 # Lath With 3/8" Mat $44.75 / UNIT
Wire Lath Self-Furring
$194.40 / UNIT Variant: 2.5 Lbs/Yd - Bundle Of 10 Pcs Available Variations: 2.5 Lbs/Yd - Bundle Of 10 Pcs $194.40 / UNIT 3.4 Lbs/Yd - Bundle Of 10 Pcs $273.60 / UNIT
Stone Veneer Mortar, SPEC MIX®
$20.95 / UNIT Variant: Stone Veneer Mortar, SPEC MIX® Available Variations: Stone Veneer Mortar, SPEC MIX® $20.95 / UNIT
Thinset Gray, Brick It®
$20.76 / UNIT Variant: Thinset Gray, Brick It® Available Variations: Thinset Gray, Brick It® $20.76 / UNIT
Pointing Mortar
Pointing Mortar
$3.75 / UNIT Variant: Natural White Available Variations: Natural White $3.75 / UNIT Natural Gray $3.75 / UNIT Taupe 402 $3.75 / UNIT ... (42 more variant(s))
Any questions so far? We can help.

Any questions so far?

We can help.

If you need help with your order or consult our design experts for advice, do not hesitate to contact us. We're happy to help!